Essential Event Production Checklists: Downloadable Templates

Running an event without checklists? That’s a risk you don’t want to take.
Event production involves juggling vendors, technical setups, schedules, and countless other details. A single oversight - like forgetting to test backup audio or confirm power requirements - can derail an entire event. That’s why detailed checklists are indispensable.
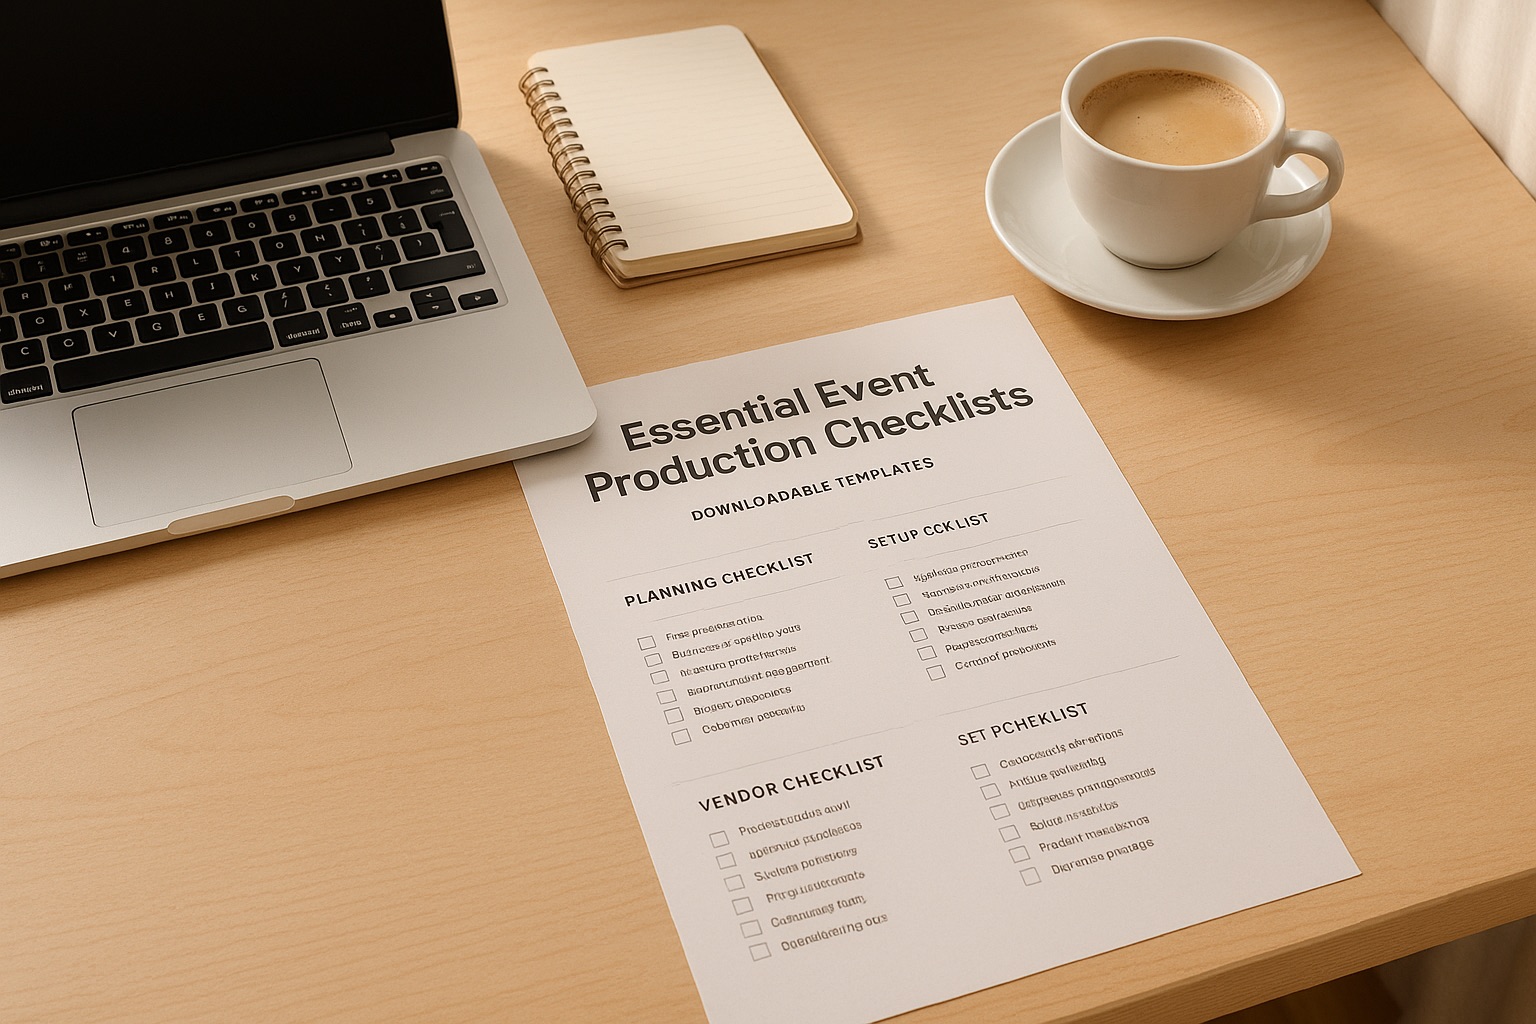
Checklists minimize errors, improve team communication, and save time. This guide offers practical templates for pre-production, run-of-show, technical rehearsals, and post-event wrap-up that you can use digitally or print for on-site reference.
Key Features of the Templates:
- Task lists with clear owners, deadlines, and statuses.
- Run-of-show formats for precise timing and live execution.
- Risk assessment, budget tracking, and technical setup checklists.
Whether you’re managing a corporate conference, theater production, or live concert, these templates ensure your event runs smoothly from start to finish.
How to Use These Checklist Templates
These templates are versatile and work equally well for digital collaboration, printed copies, or both. Each one is ready to be duplicated into your Google Drive, customized for your event, and shared with your team. You can maintain a live digital version that updates in real time, export clean PDFs for vendor emails or compliance records, or print physical copies for on-site use by stage managers and crew.
Template Structure and Components
Each template starts with a standard header block containing the template title, event name, event date, version number, and document owner. This makes it easy to identify the document, confirm it’s current, and know who to contact for changes.
The templates also reference Stagetimer scenes where relevant, connecting your planning documents directly to your live timing system.
Task lists use a simple table format with checkboxes, task descriptions, owners, due dates, and status notes. Run-of-show templates add timing columns for segment scheduling and technical cues. Both formats leave room for handwritten notes when printed.
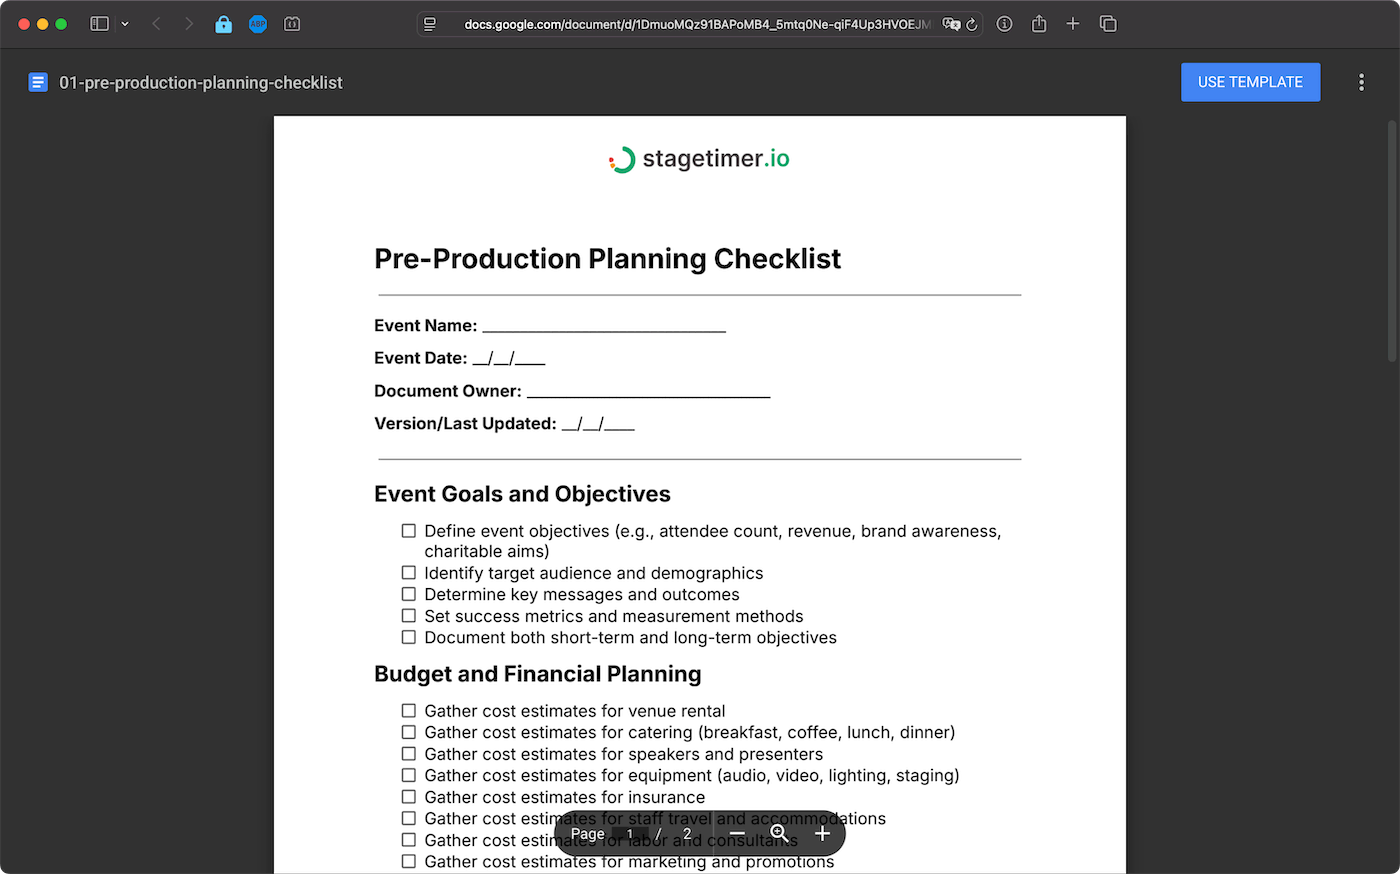
Pre-Production Planning Checklist
Pre-production is the backbone of any successful event. It’s where you define objectives, budgets, schedules, technical requirements, and potential risks, setting the stage for a smooth execution.
Pre-Production Tasks
Start by defining your objectives. What are you aiming to achieve? Whether it’s hitting a specific attendee count, increasing revenue, boosting brand awareness, or supporting a cause, be clear about your goals.
Identify your target audience and craft key messages tailored to them. Establish metrics to measure success, from immediate outcomes like attendee satisfaction to longer-term goals such as lead generation or community growth.
Next, create a detailed budget covering venue, catering, speakers, equipment, insurance, travel, labor, and marketing. Use past event budgets as a reference but account for inflation and new needs. Separate fixed costs from variable ones, and track actual expenses against your plan to avoid surprises.
Develop a timeline based on the complexity of your event. Small meetings might need two months of planning, while large conferences may require up to a year.
Work backward from the event date, setting milestones for key tasks like booking the venue (3–6 months ahead for mid-sized events), confirming speakers, launching marketing campaigns, holding technical rehearsals, and conducting final walkthroughs. Leave room for unexpected delays or approvals.
Identify your technical needs early. This could include audio systems, video projection, lighting, staging, or live streaming. Confirm the venue’s power capacity, internet bandwidth, and access for equipment load-in.
When using Stagetimer for live cueing, decide which segments need synchronized timers and how your technical team will monitor them. Draft a concise run of show to outline key segments and their durations.
Lastly, assess risks and plan for contingencies. Start by listing potential risks like bad weather, technical issues, speaker cancellations, or budget overruns. Evaluate the likelihood and impact of each risk, then develop mitigation plans for the most critical ones. Assign team members to monitor these risks and respond if necessary. Keep this list updated as planning progresses.
Pre-Production Checklist Template
Here’s a checklist template to streamline your pre-production planning. Copy it into your preferred document editor, customize it for your event, and share it with your team. You can also export it as a PDF or print it for on-site use.
View Pre-Production Checklist in Google Docs
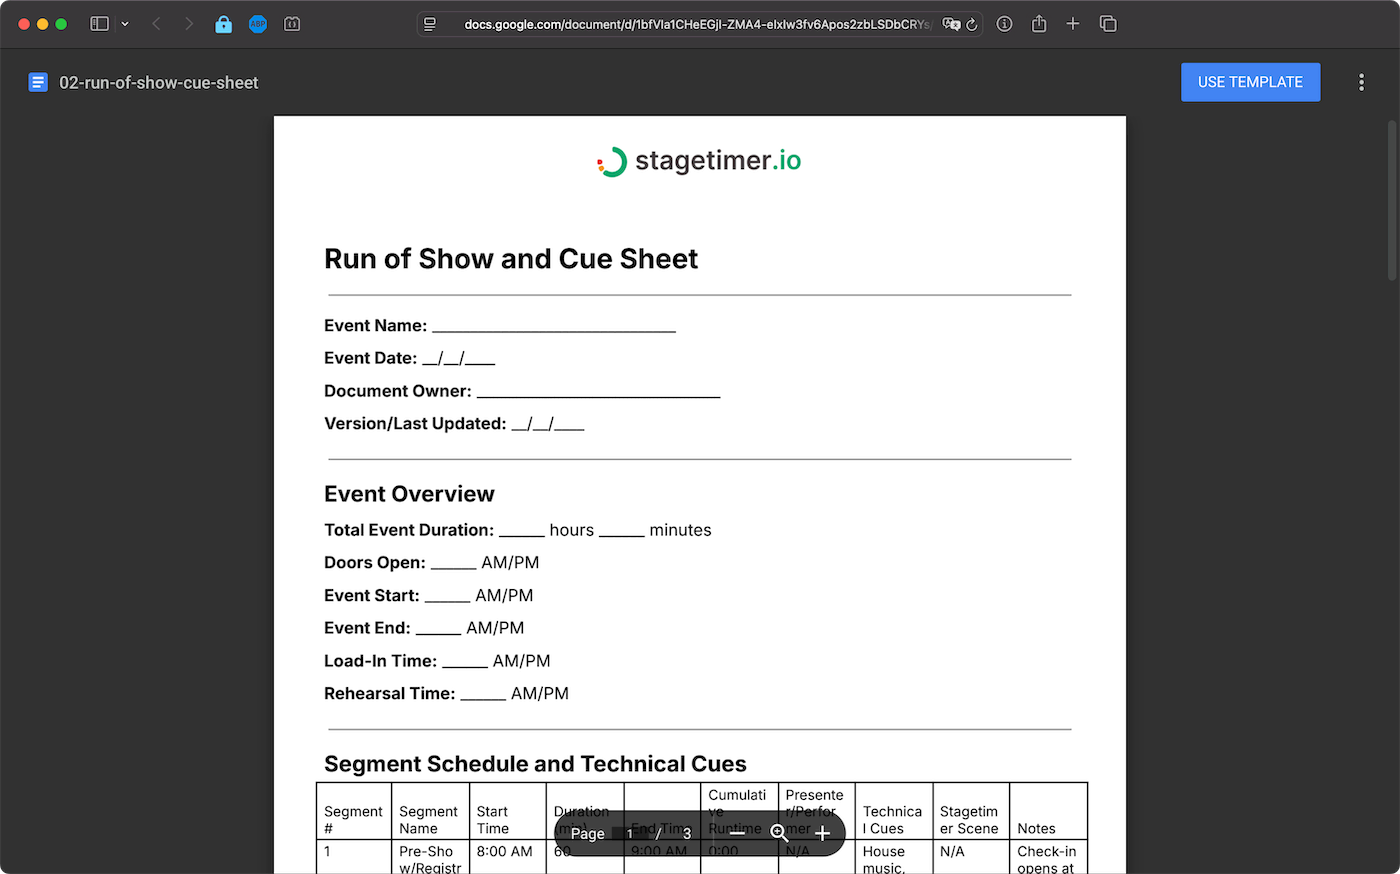
Run of Show and Cue Sheet Checklist
A Run of Show (ROS) serves as your event’s master timeline. It’s the go-to document that ensures everyone - whether it’s the executives, AV team, or stage crew - stays on the same page. Without a well-structured ROS, even minor timing mishaps can throw the entire event off track.
Creating a Run of Show
Start by dividing your event into distinct segments. Each segment should have a clear start time, end time, duration, and purpose. For example:
- At a corporate conference, segments might include registration, opening remarks, keynote speeches, breakout sessions, lunch, and closing remarks.
- For a live broadcast or concert, you’d include more granular segments like pre-show music, intro videos, performer entrances, and commercial breaks.
For each segment, document the name, timing, presenters, and technical cues (lighting, audio, video). The template provides columns for all these details.
It’s also a good idea to build in 2–5 minute buffers between major segments. These buffers help absorb any delays and are clearly marked in the ROS, giving the show caller flexibility to adjust as needed.
For live cue synchronization, assign a Stagetimer scene to each segment. Stagetimer allows real-time updates, so presenters can view countdowns on their devices, and technical teams can prepare for upcoming cues. This synchronization ensures smooth transitions and avoids missed signals.
Finally, include task dependencies to maintain proper sequencing. Store all related files in a shared folder so everyone involved in the event has access.
Run of Show Template
Below is a template you can use to organize your event flow and technical cues. Customize it to fit your specific event, then share it with your team for execution.
View Run of Show Template in Google Docs
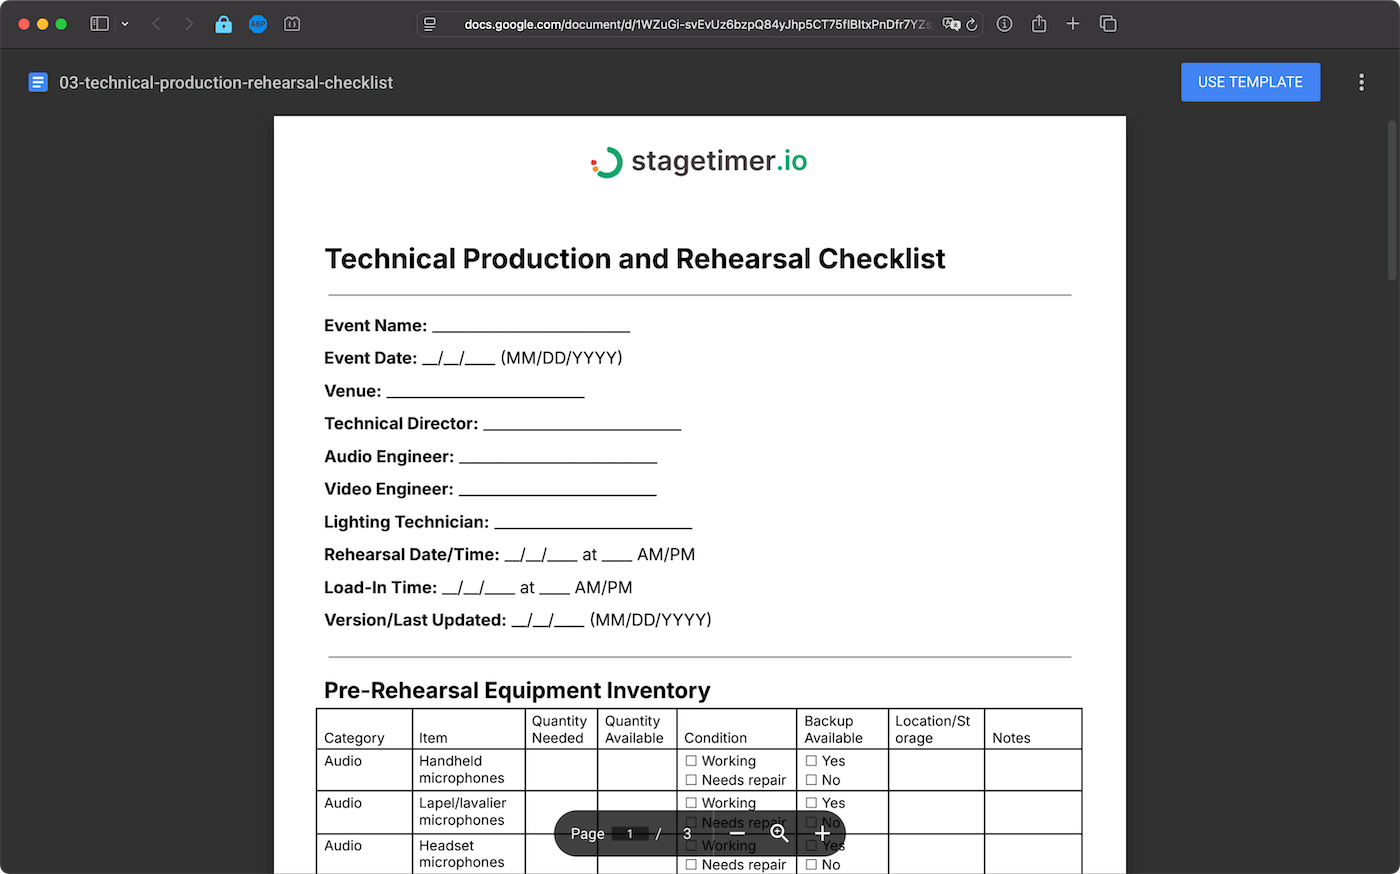
Technical Production and Rehearsal Checklist
Once your pre-production planning is complete, this checklist will help ensure your technical setup is ready to go. Technical rehearsals are the key to running a smooth event - this is where you catch potential problems before they snowball into issues during the live show. Skipping or rushing this step could leave you scrambling to fix avoidable problems at the worst possible time.
Technical Preparation Tasks
Start by checking your internet connection. For HD streaming, aim for at least 5 Mbps upload (10 Mbps for multiple streams). Use wired Ethernet for stability, and have a backup ready like a mobile hotspot.
Your camera setup matters for professional results. Skip built-in webcams and use external cameras positioned at eye level. Test focus and framing with actual presenters.
Audio quality is critical. Use external microphones—USB condenser mics for stationary speakers, lapel mics for mobile presenters. Test each channel individually and together.
Lighting can make or break visual quality. Position lights in front of presenters, avoid backlighting from windows, and check how natural light changes during event hours.
Verify computer systems meet platform requirements and are updated at least 24 hours before the event. For all peripheral devices, keep spare batteries, cables, and adapters on hand.
For your sound system, inventory all microphones, speakers, cables, and connectors. Have backups ready for critical equipment.
After hardware checks, set up and test Stagetimer across all displays—presenter monitors, backstage screens, and technical director stations. Walk through the entire event timeline to identify timing issues.
Finally, conduct a full rehearsal with all presenters 24 hours before the event. Rehearse every segment, transition, and technical cue. Time each section to confirm your Run of Show is realistic.
Technical Production Template
Below is a detailed checklist template to help manage your technical production and rehearsal process. Feel free to adjust it based on your specific needs and venue setup.
View Technical Production Checklist in Google Docs
Event-Day Show Calling and Communication Checklist
The success of your event hinges on flawless execution. Despite meticulous planning, unexpected issues like microphone failures, time overruns, or technical hiccups can pop up. The key to navigating these challenges lies in effective team communication and quick decision-making to keep everything on track.
Event-Day Tasks
Kick off your event day with a final team briefing at least 90 minutes before the doors open or the stream goes live. Gather everyone - audio engineers, video operators, stage managers, lighting technicians, and other key personnel. Go over the Run of Show one last time, emphasizing critical cues, transitions, and potential trouble spots. Ensure everyone knows their roles, reporting lines, and emergency procedures like fire exits and evacuation plans.
Use your pre-event Run of Show and technical briefings to handle surprises efficiently. Establish a clear decision-making hierarchy where one person, often the stage manager or technical director, has the final say on timing and cue calls. Assign specific issues to relevant team members - audio problems to the audio engineer, video glitches to the video operator, and so on.
Strategically place Stagetimer displays around the venue—confidence monitors for presenters, cue displays for backstage crew, and a master view for the technical director. Ensure all displays are synchronized and test the message feature for sending real-time notes to presenters.
During the event, your top priority is managing the show clock. Speakers rarely stick to their allotted time, so you need to decide quickly whether to let them finish or cut them short to stay on schedule. Use Stagetimer to monitor cumulative time shifts, and adjust accordingly. For example, if you’re running five minutes late after the second session, you might shorten the next break or ask the following speaker to trim their remarks.
Show calling demands precise communication. Use clear, specific cue language—say “standby for video playback” instead of “get ready.” Stick to a consistent rhythm: standby warning, 10-second warning, then execution command.
Keep a timestamped log of key moments—segment start/end times, technical issues, timing adjustments, and audience reactions. This log is invaluable for post-event analysis.
When problems arise, stay calm and act decisively. Communicate your decision clearly to the team and move forward. Watch your team’s energy levels and ensure everyone takes breaks and stays hydrated.
Use Stagetimer’s message display to communicate discreetly with presenters who are running long or need updates. This is far less disruptive than signaling from the wings.
Communicate timing adjustments immediately. Announce changes over the communication system and update Stagetimer so everyone stays aligned. Your team will mirror your demeanor—stay calm, focus on solutions, and lead with confidence.
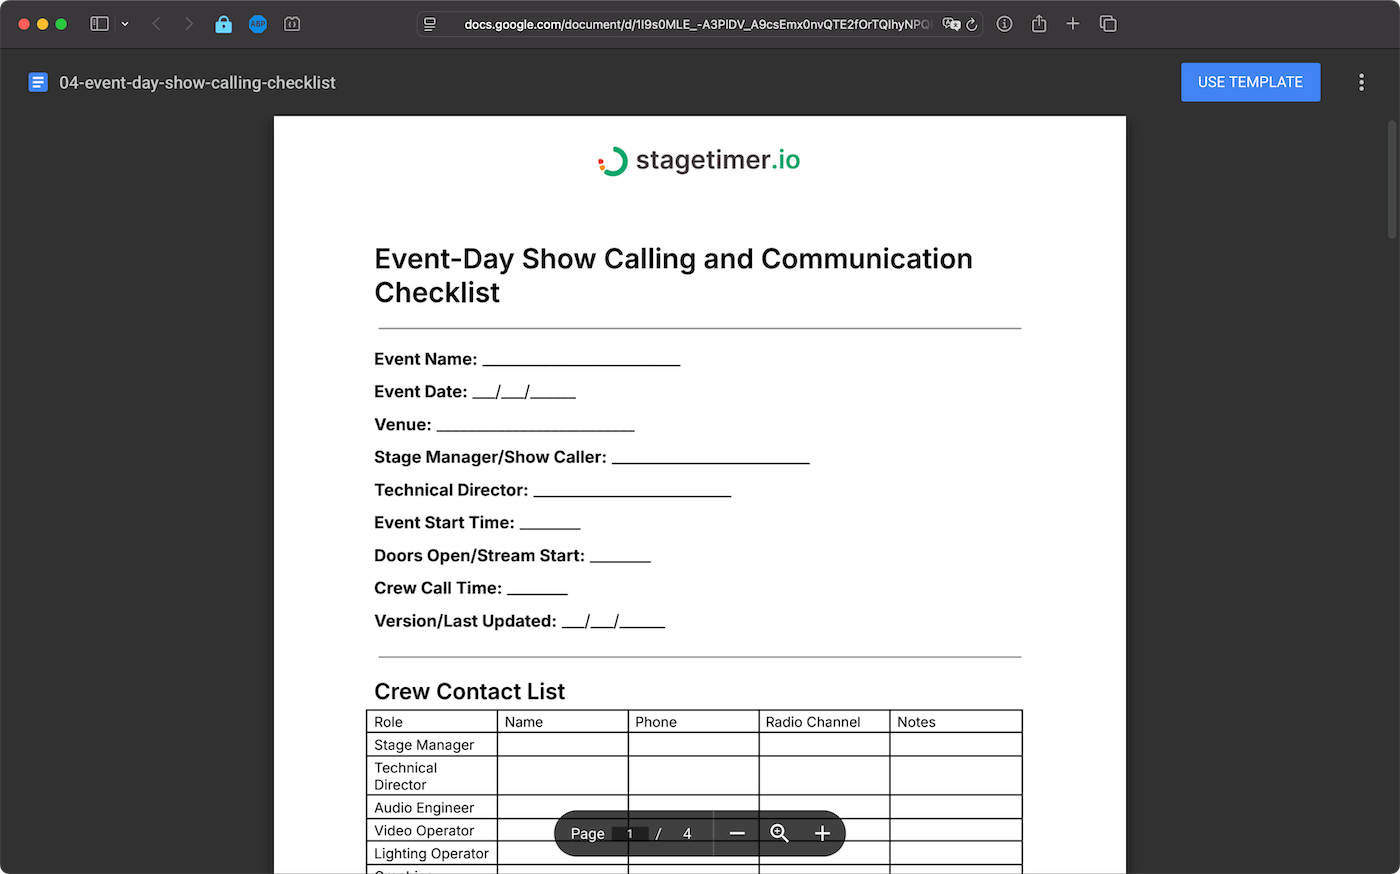
Event-Day Checklist Template
Below is a streamlined checklist to help you manage your event-day operations, communication, and real-time adjustments. Customize it based on your event’s specific needs and crew structure.
View Event-Day Checklist in Google Docs
Post-Event Strike and Debrief Checklist
Once your event has wrapped up, it’s time to shift gears and focus on the post-event tasks. This phase is critical to ensure everything is properly packed up, accounted for, and ready for future use while documenting key takeaways for improvement.
After the event concludes, prioritize securing equipment and collecting feedback to refine future events. A well-organized post-event strike ensures that all materials are accounted for and the venue is left in excellent condition.
Post-Event Tasks
Begin the equipment strike immediately after the event by assigning team members specific responsibilities. Cross-check all equipment against the inventory list and document any damages or missing items with photos for reference.
Dismantle the venue systematically, removing staging, signage, and decorations in the reverse order of their installation. This step-by-step process helps avoid confusion and accidental damage during the takedown.
Inspect all areas, including the stage, green rooms, control booths, storage spaces, and restrooms, to ensure they are free of trash, tape, and temporary setups. Taking photos of the cleaned venue can serve as proof of its condition for future reference.
Organize and archive event materials such as photos, videos, slides, and recordings. Store these files in a clearly labeled folder that includes the event name and date (YYYY-MM-DD) for easy sorting.
Finally, secure important documents like signed contracts, permits, and agreements by compiling them in a master folder. This ensures these materials are readily available for future planning.
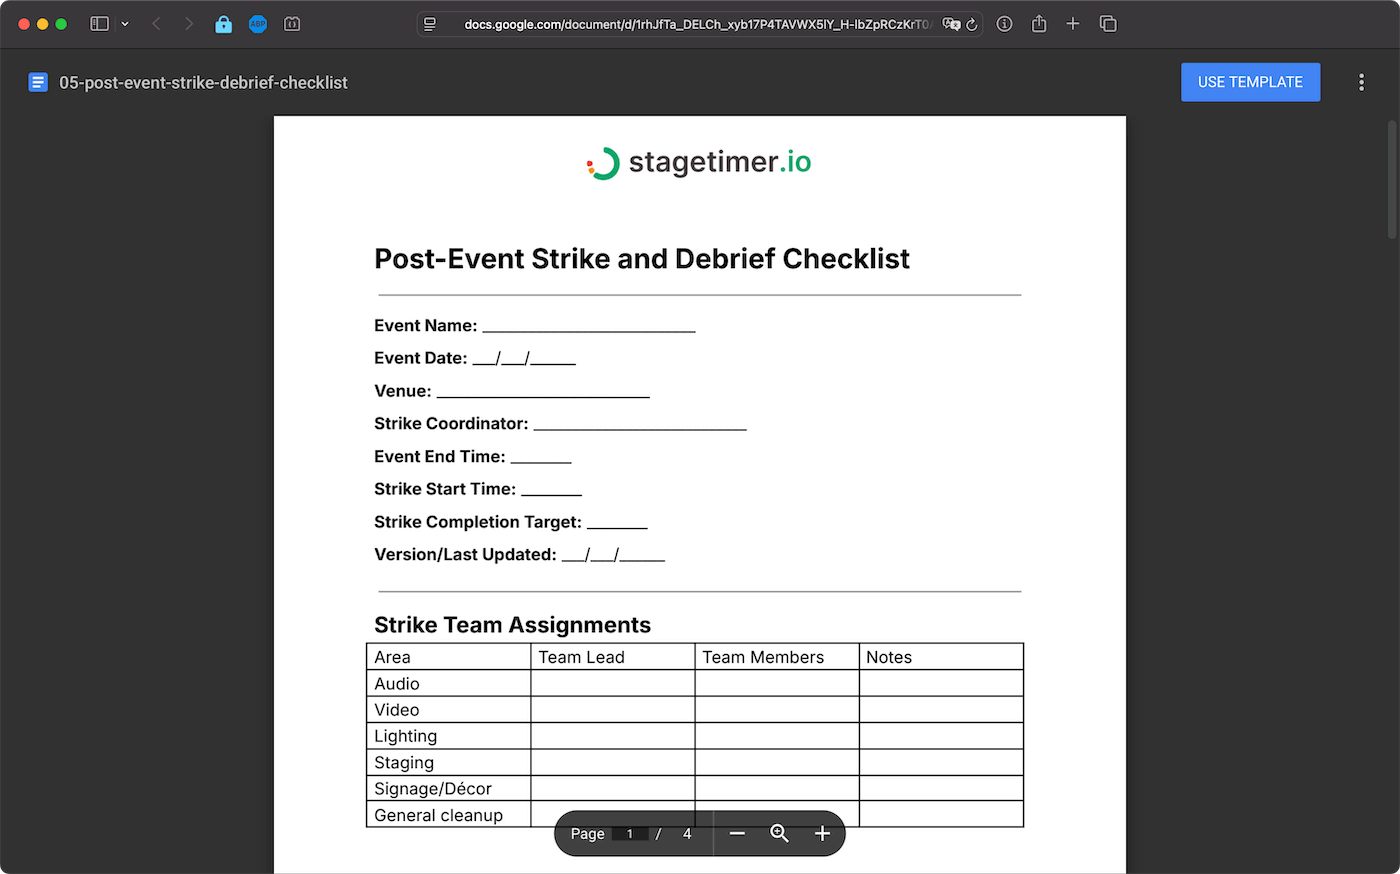
Post-Event Checklist Template
Use the checklist template below to streamline your post-event process and ensure no detail is overlooked.
View Post-Event Checklist in Google Docs
Conclusion
These templates bring order to the chaos of event production. Instead of starting from scratch each time, use these standardized checklists to save time and ensure nothing slips through the cracks.
When paired with Stagetimer’s real-time coordination tools, these checklists help you tackle issues before they become problems—from initial planning through the live event. Customize the templates to fit your workflow and set the stage for a successful event every time.